Heatwave is a fast, effective, and free way to add grit and aggressiveness to almost any sound while preserving its original transients. Add sizzle to drum parts without losing the snappy attacks. Beef up a funk bass without softening the slap. Distress an acoustic guitar while preserving the intricacies of fingerstyle playing.
Heatwave employs a minimal but inspiring interface dominated by a single control to "add heat" to the sound. All the magic is hidden behind-the-scenes, so you don't need to learn anything technical to make skillful use of the plugin. Heatwave preserves and can even exaggerate transients through a complex use of transient shaping, saturation, compression, and EQ.
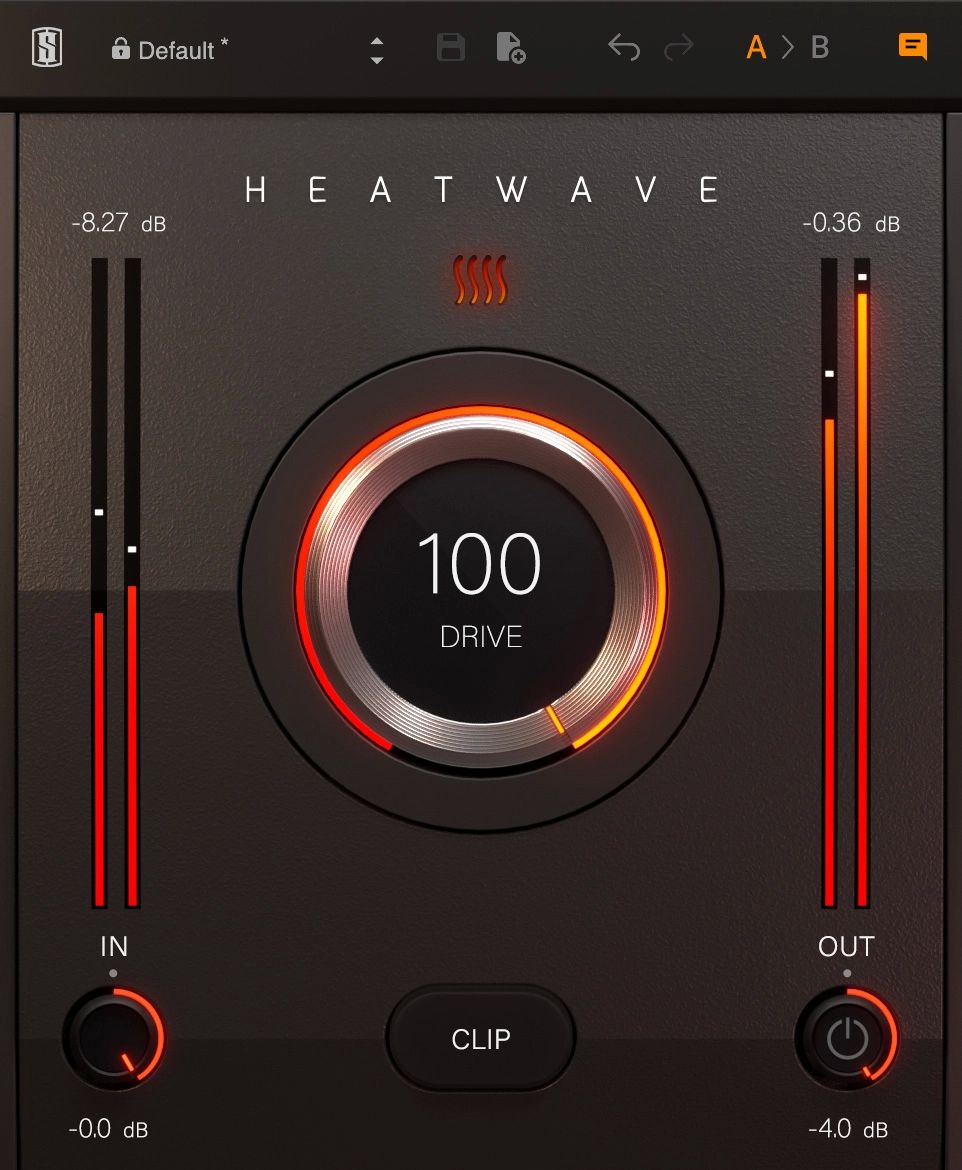
Drive
This is Heatwave's main control. Use it to increase and modify saturation, EQ, compression...everything starts with this knob. This is the first control you'll want to go for when using Heatwave. You may not need to make any other tweaks to get a great sound.
Input
The Input controls the level going into the Heatwave algorithm that is controlled by the Drive knob. This control can influence the overall sound of Heatwave by pushing audio harder into the algorithm — it can be used in tandem with Drive to customize the sound.
Clip
The Clip button adds a clipper on the output of the Heatwave algorithm which can keep unwieldy transients under control or be used to create a more aggressive or even distorted sound.
Output
The Output control adjusts the level coming out of Heatwave. This control comes after the Clip button, so the character achieved with Heatwave isn't affected. Consequently, turning the Output up can push the output level above 0dBFS, even with Clip enabled.
Bypass
This button toggles Heatwave on and off. It can also be automated if you only want to use Heatwave at certain points in your track.
Features:

Please log in to join the discussion
Submit: News, Plugins, Hosts & Apps | Advertise @ KVR | Developer Account | About KVR / Contact Us | Privacy Statement
© KVR Audio, Inc. 2000-2024
