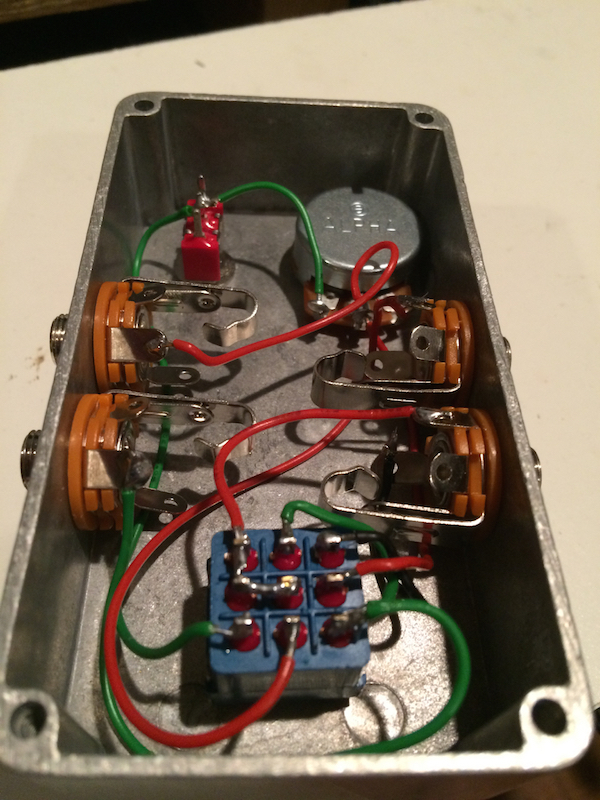
The PCB was $25, I had the necessary parts on hand (common stuff) and the enclosure was just something I had around (I'll probably put it in a hammond box later). $60 in parts, including the PCB!
You can find more information here Horndog DIY PCBs and here REPEATER ELECTRONICS
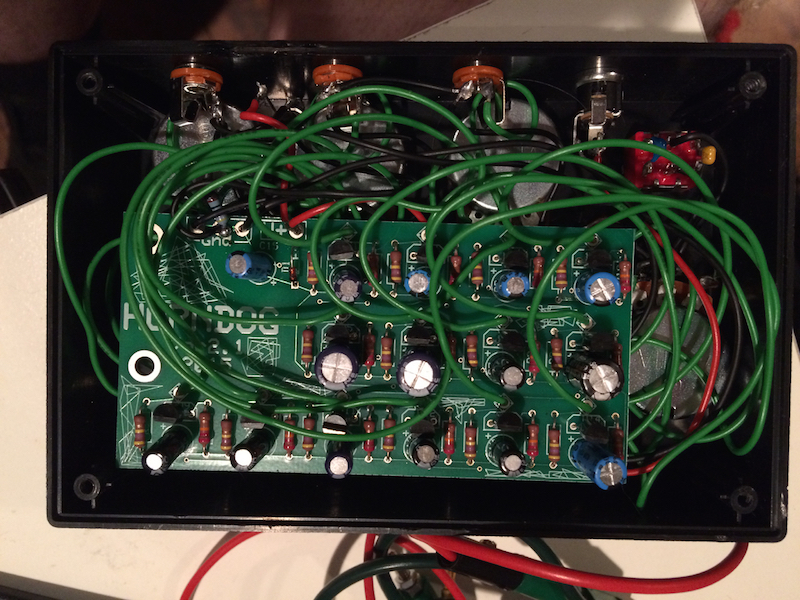
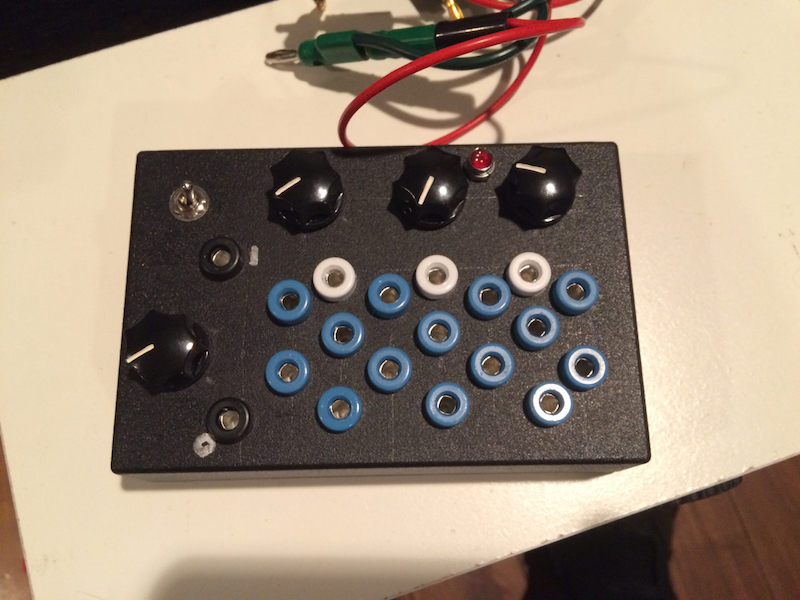
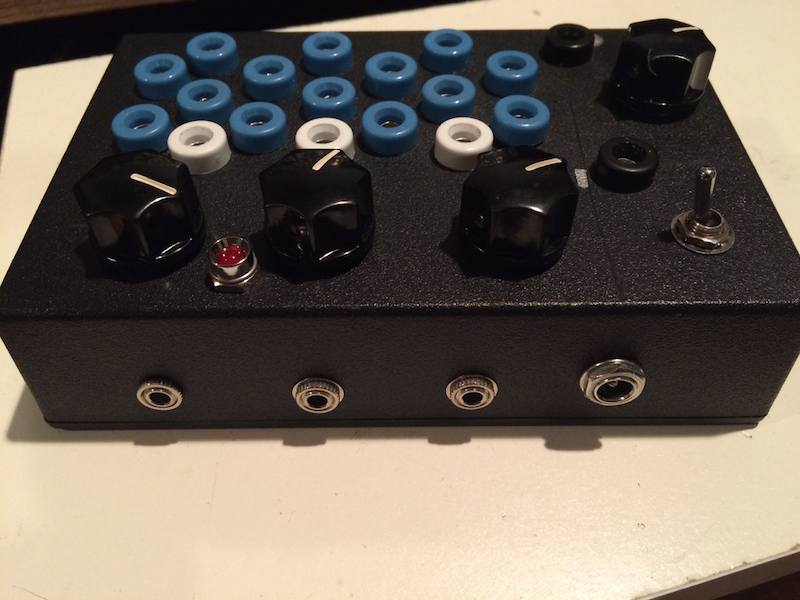
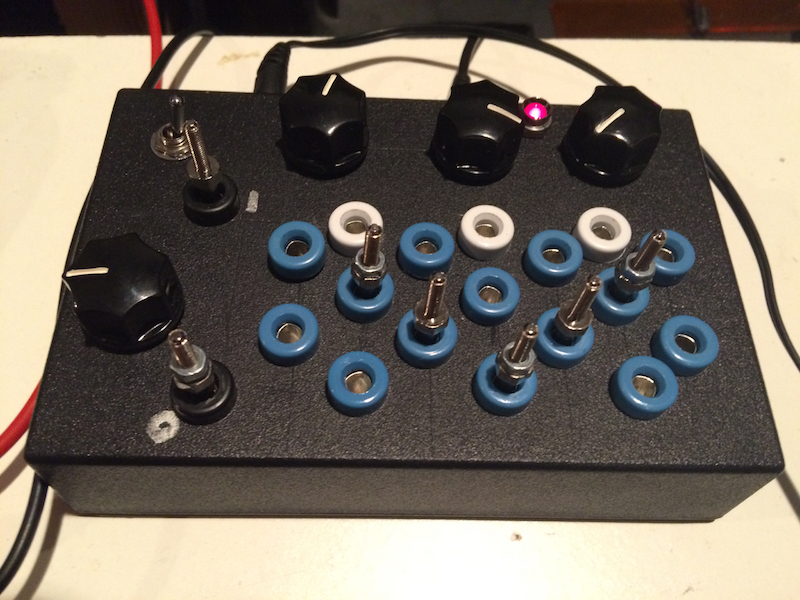
It's a weird ass noisy sonofabitch... each of the blue jacks is a node (input/output) for a primitive "oscillator", based on two resistors, an electrolytic cap and a transistor. Feeding the nodes to each other results in chaotic interactions. Touching the nodes (I'm using exposed banana plugs) influences the sound. It can generate it's own sounds or it can process external signals. Audio is routed in and out of the box via passive attenuators (white jacks > pot >3.5mm jack on the back). Each attenuator can be an input or output.
Using different values of electrolytic capacitors results in each node having it's own characteristics. Lower cap values result in pitched drones, higher values result in periodic clicks and sputters.
On the left side of the box, there are two black jacks, a 4th knob and a switch. These are part of a passive filter. The knob controls the frequency and the switch toggles between hipass and lowpass. The in and out labels are really just a hint, as you can send signal in either direction. It really acts more like a wave shaper than a filter.
It's a lot of fun and it's totally unpredictable. Just connect some banana cables together and you can be sure it'll do something!
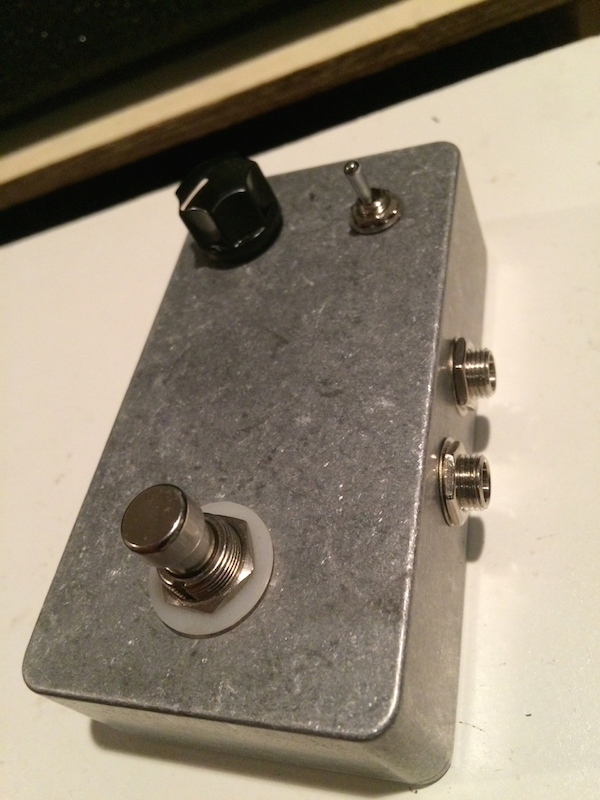
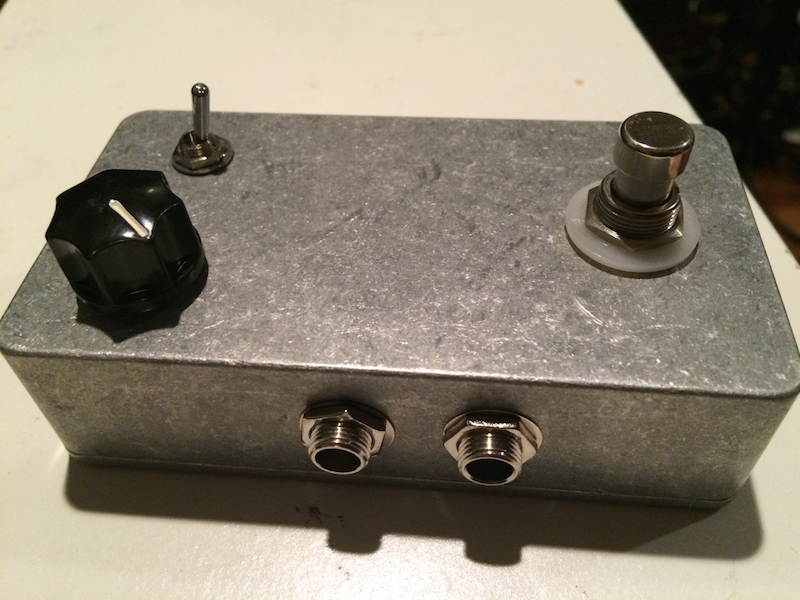
I also built a DIY Feedback pedal, as pictured here (the un-labeled pedal at the bottom):
I built this from instructions on the experimentalists anonymous forum (such a awesome source of ideas and information!).
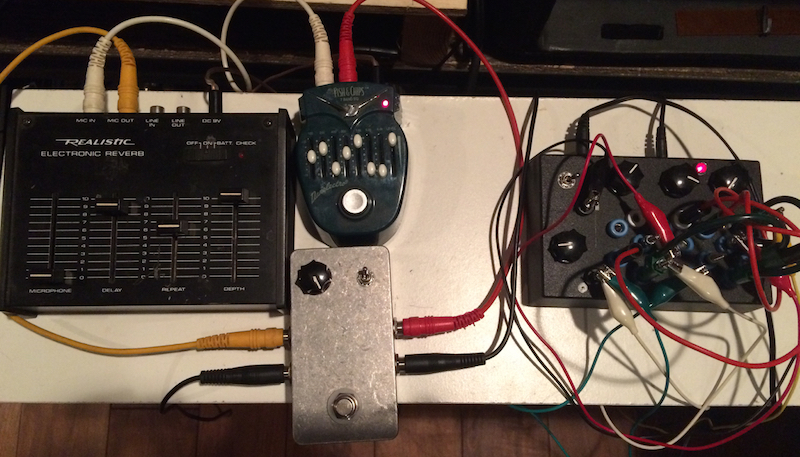
This pedal can either operate as a true-bypass switch for signal processors which don't have one (for example, the Realistic Reverb in the picture above). It can also route the output of the effect back into it's input, with a knob to control the amount of feedback. Super handy! Again, I had most of these parts on hand. I just needed a stomp switch and a hammond box. <$30 in parts, total.
I made some pretty obnoxious noise using both of these things.
https://soundcloud.com/justin3am/terrapin
These were both really fun, easy and cheap projects. Totally recommended.